
Brooding on a Brooder
We love chickens. They are fun to watch, they poop wonder breakfast butt nuggets, they spread fertilize and aerate the soil with their scratching. They offer so many beneficial things to the farm. There is one wonderful thing that we love but we don’t get from our chickens, and that is meat. We love chicken done all the ways that Bubba from Forrest Gump could list and probably some other ways as well.
The problem as to why we don’t get meat from our chickens is twofold. First, they are my wife’s babies and I am not allowed to kill them and feed them to her. I admit that is my fault and to a degree an understandable stance to take. Secondly and more aptly, the chickens we have just aren’t good meat producing birds. They are mostly small framed hens bred for egg production. Which again is fine because that is what they were brought on the farm to do.
As we saw in the early days of the pandemic, supply chains are fragile. I had known this for a while but that little experience of looking at the meat section in our local stores and seeing maybe a dozen packs of meat where they usually were mounds of them hammered home the idea that we should be more in control of our food supply. We had so many things going on during this year that we couldn’t commit to raising a batch of meat chickens. Not to mention we didn’t have the infrastructure to execute a meat chicken run.
My mind, as it will, chewed on this problem of infrastructure for a while and my design/fabrication back ground decided to join the party on the brooder, the first piece we would need. We had a lot of hurtles to over come for this design. While we have a nice barn it has very little room for things like a brooder capable of housing up to fifty plus chicks for three to four weeks until they are ready to go out on pasture. I needed a design that was sturdy and simple but also easily deconstruct able for better storage. What I came up with is merely the first evolution and is wrought with plenty of design flaws, but that is what a prototype is for.
My idea began with a light bulb box. You know the ones with like four bulbs, they have the cardboard dividers that have slits and slip together to divide up the space inside. That slip together design element stuck in my head and rattled around until I had an idea enough to prove out. I gathered some cardboard and cut it up and made a scale model to test the theory of slip together side panels.


As you can see, I made a fair mess but it worked out well enough that I was ready to get to crunching numbers and figuring out the material list for my design. The end goal was to have a brooder that could be made from four to five sheets of plywood and a saw with minimal to no screws and would come apart and stack and lean against a wall unobtrusively. While I mostly succeeded, there are improvements to be made which I will explain at the end.
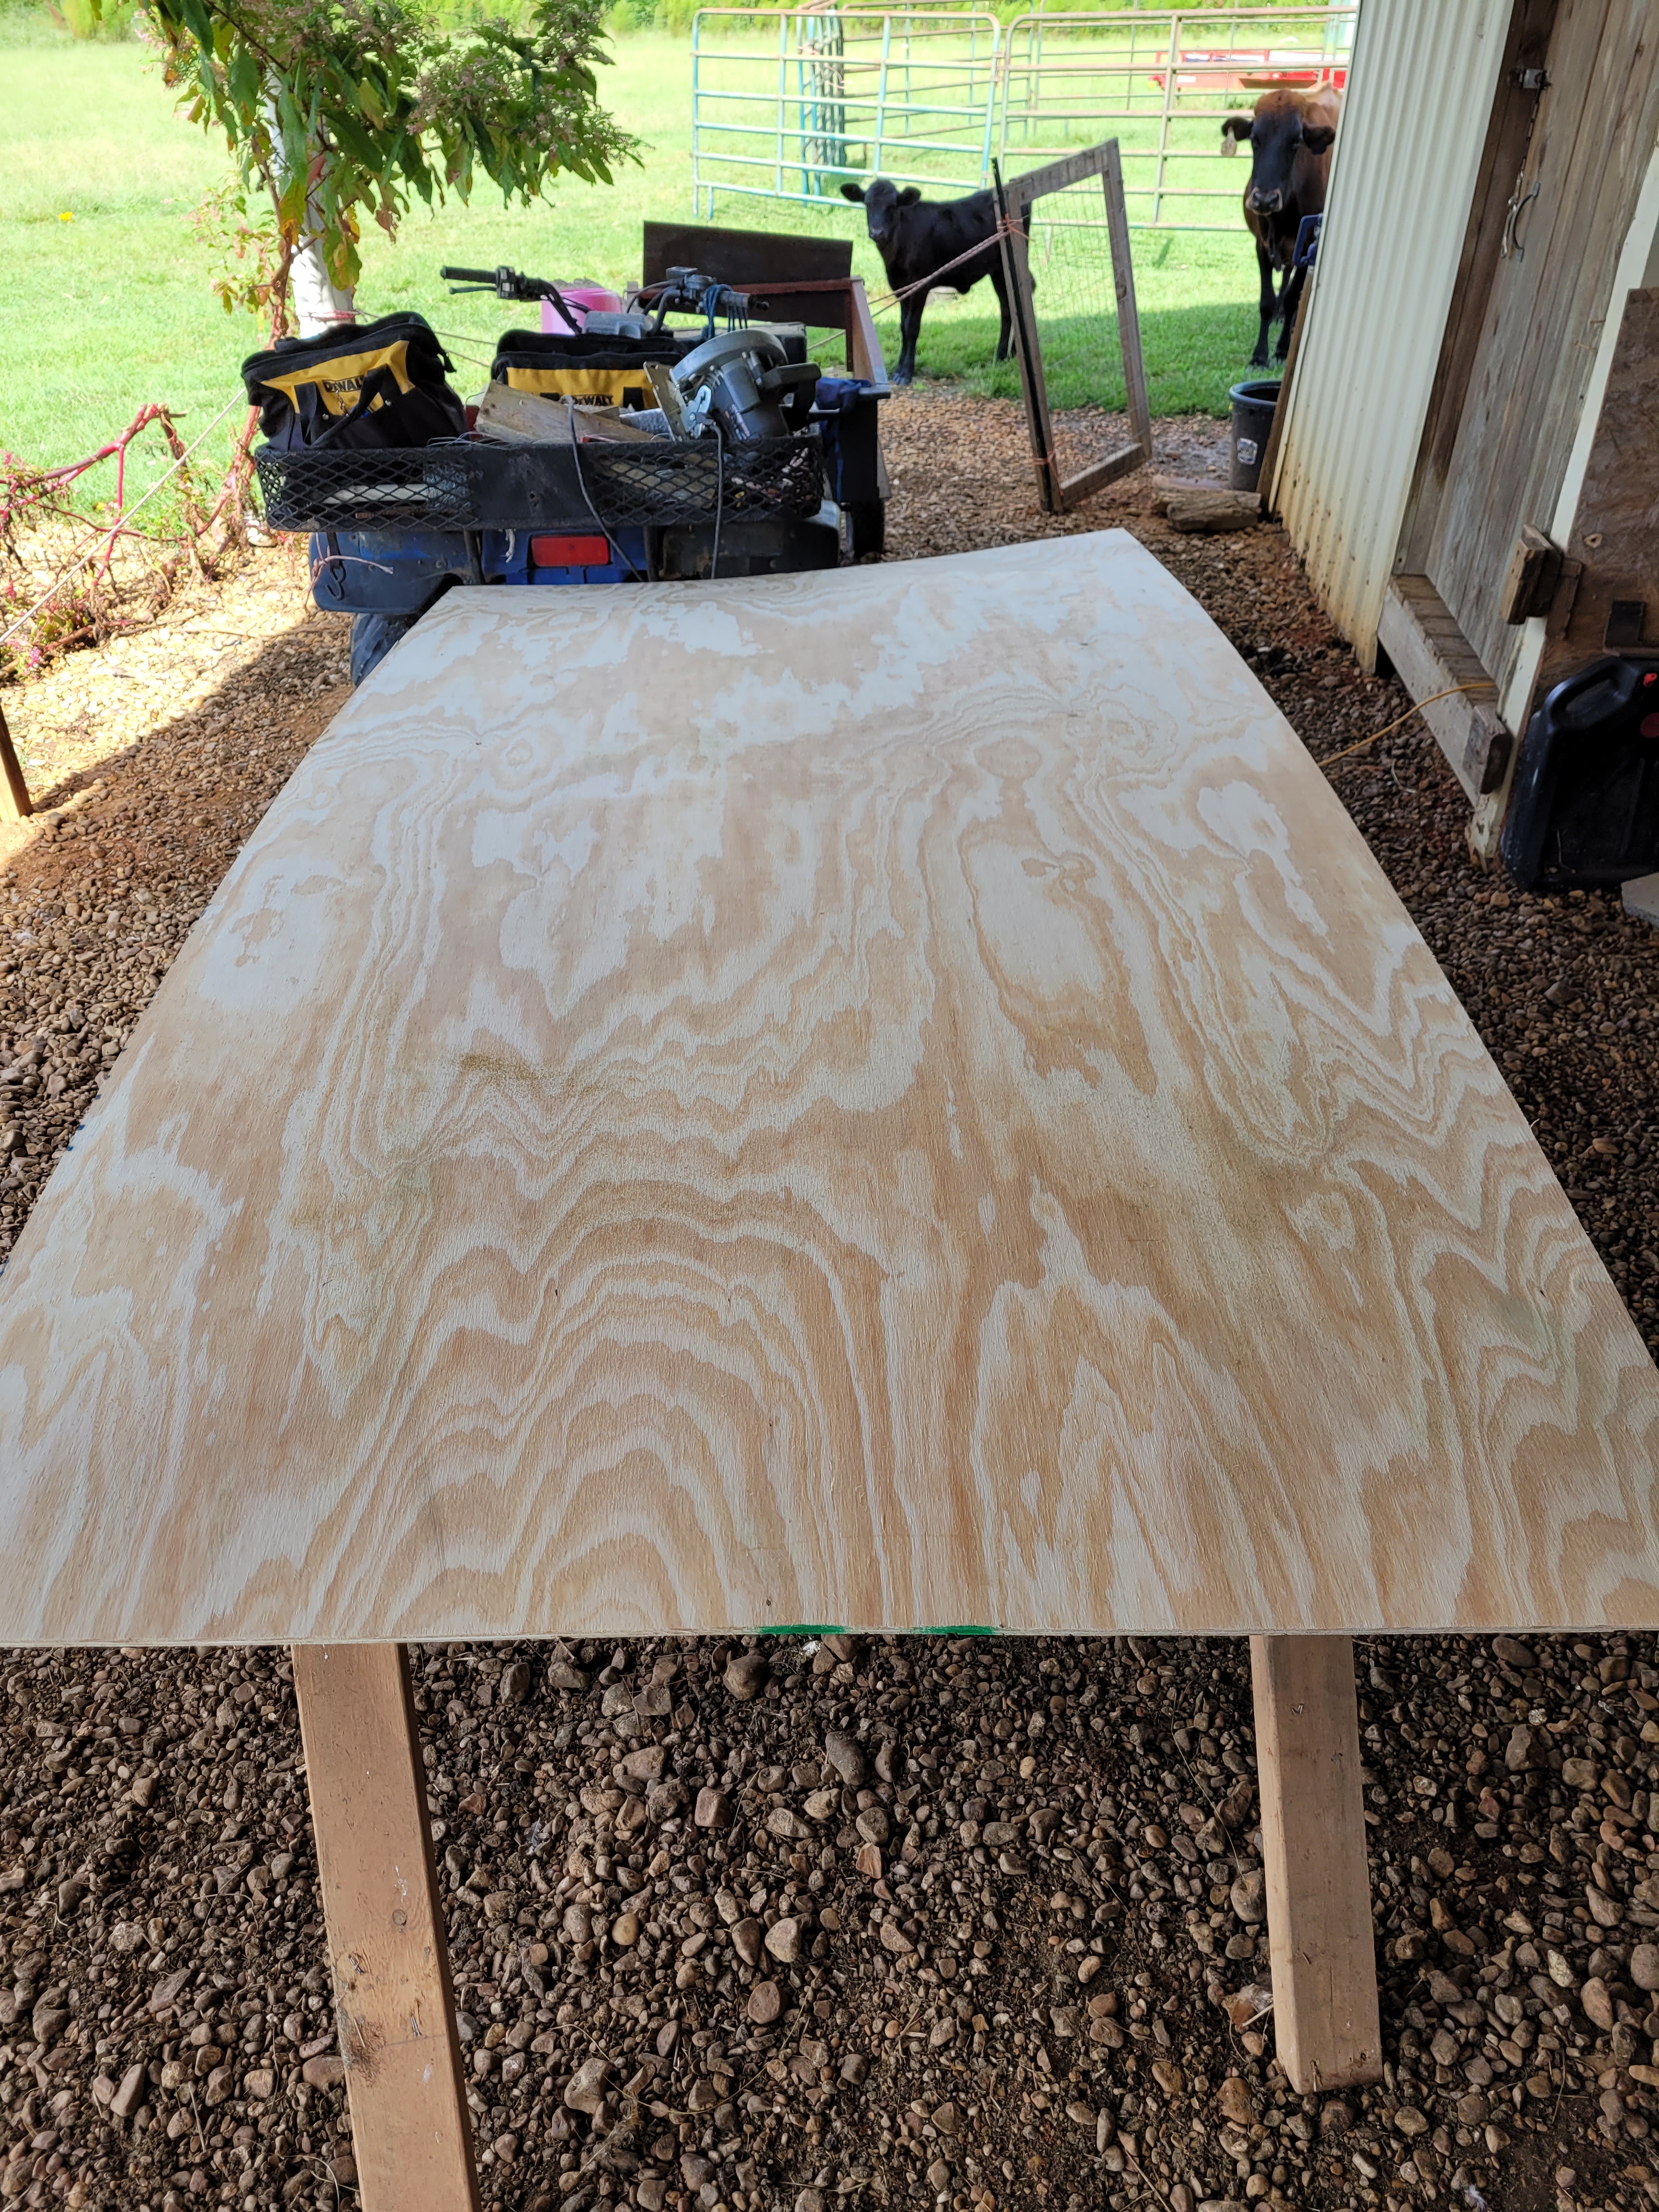
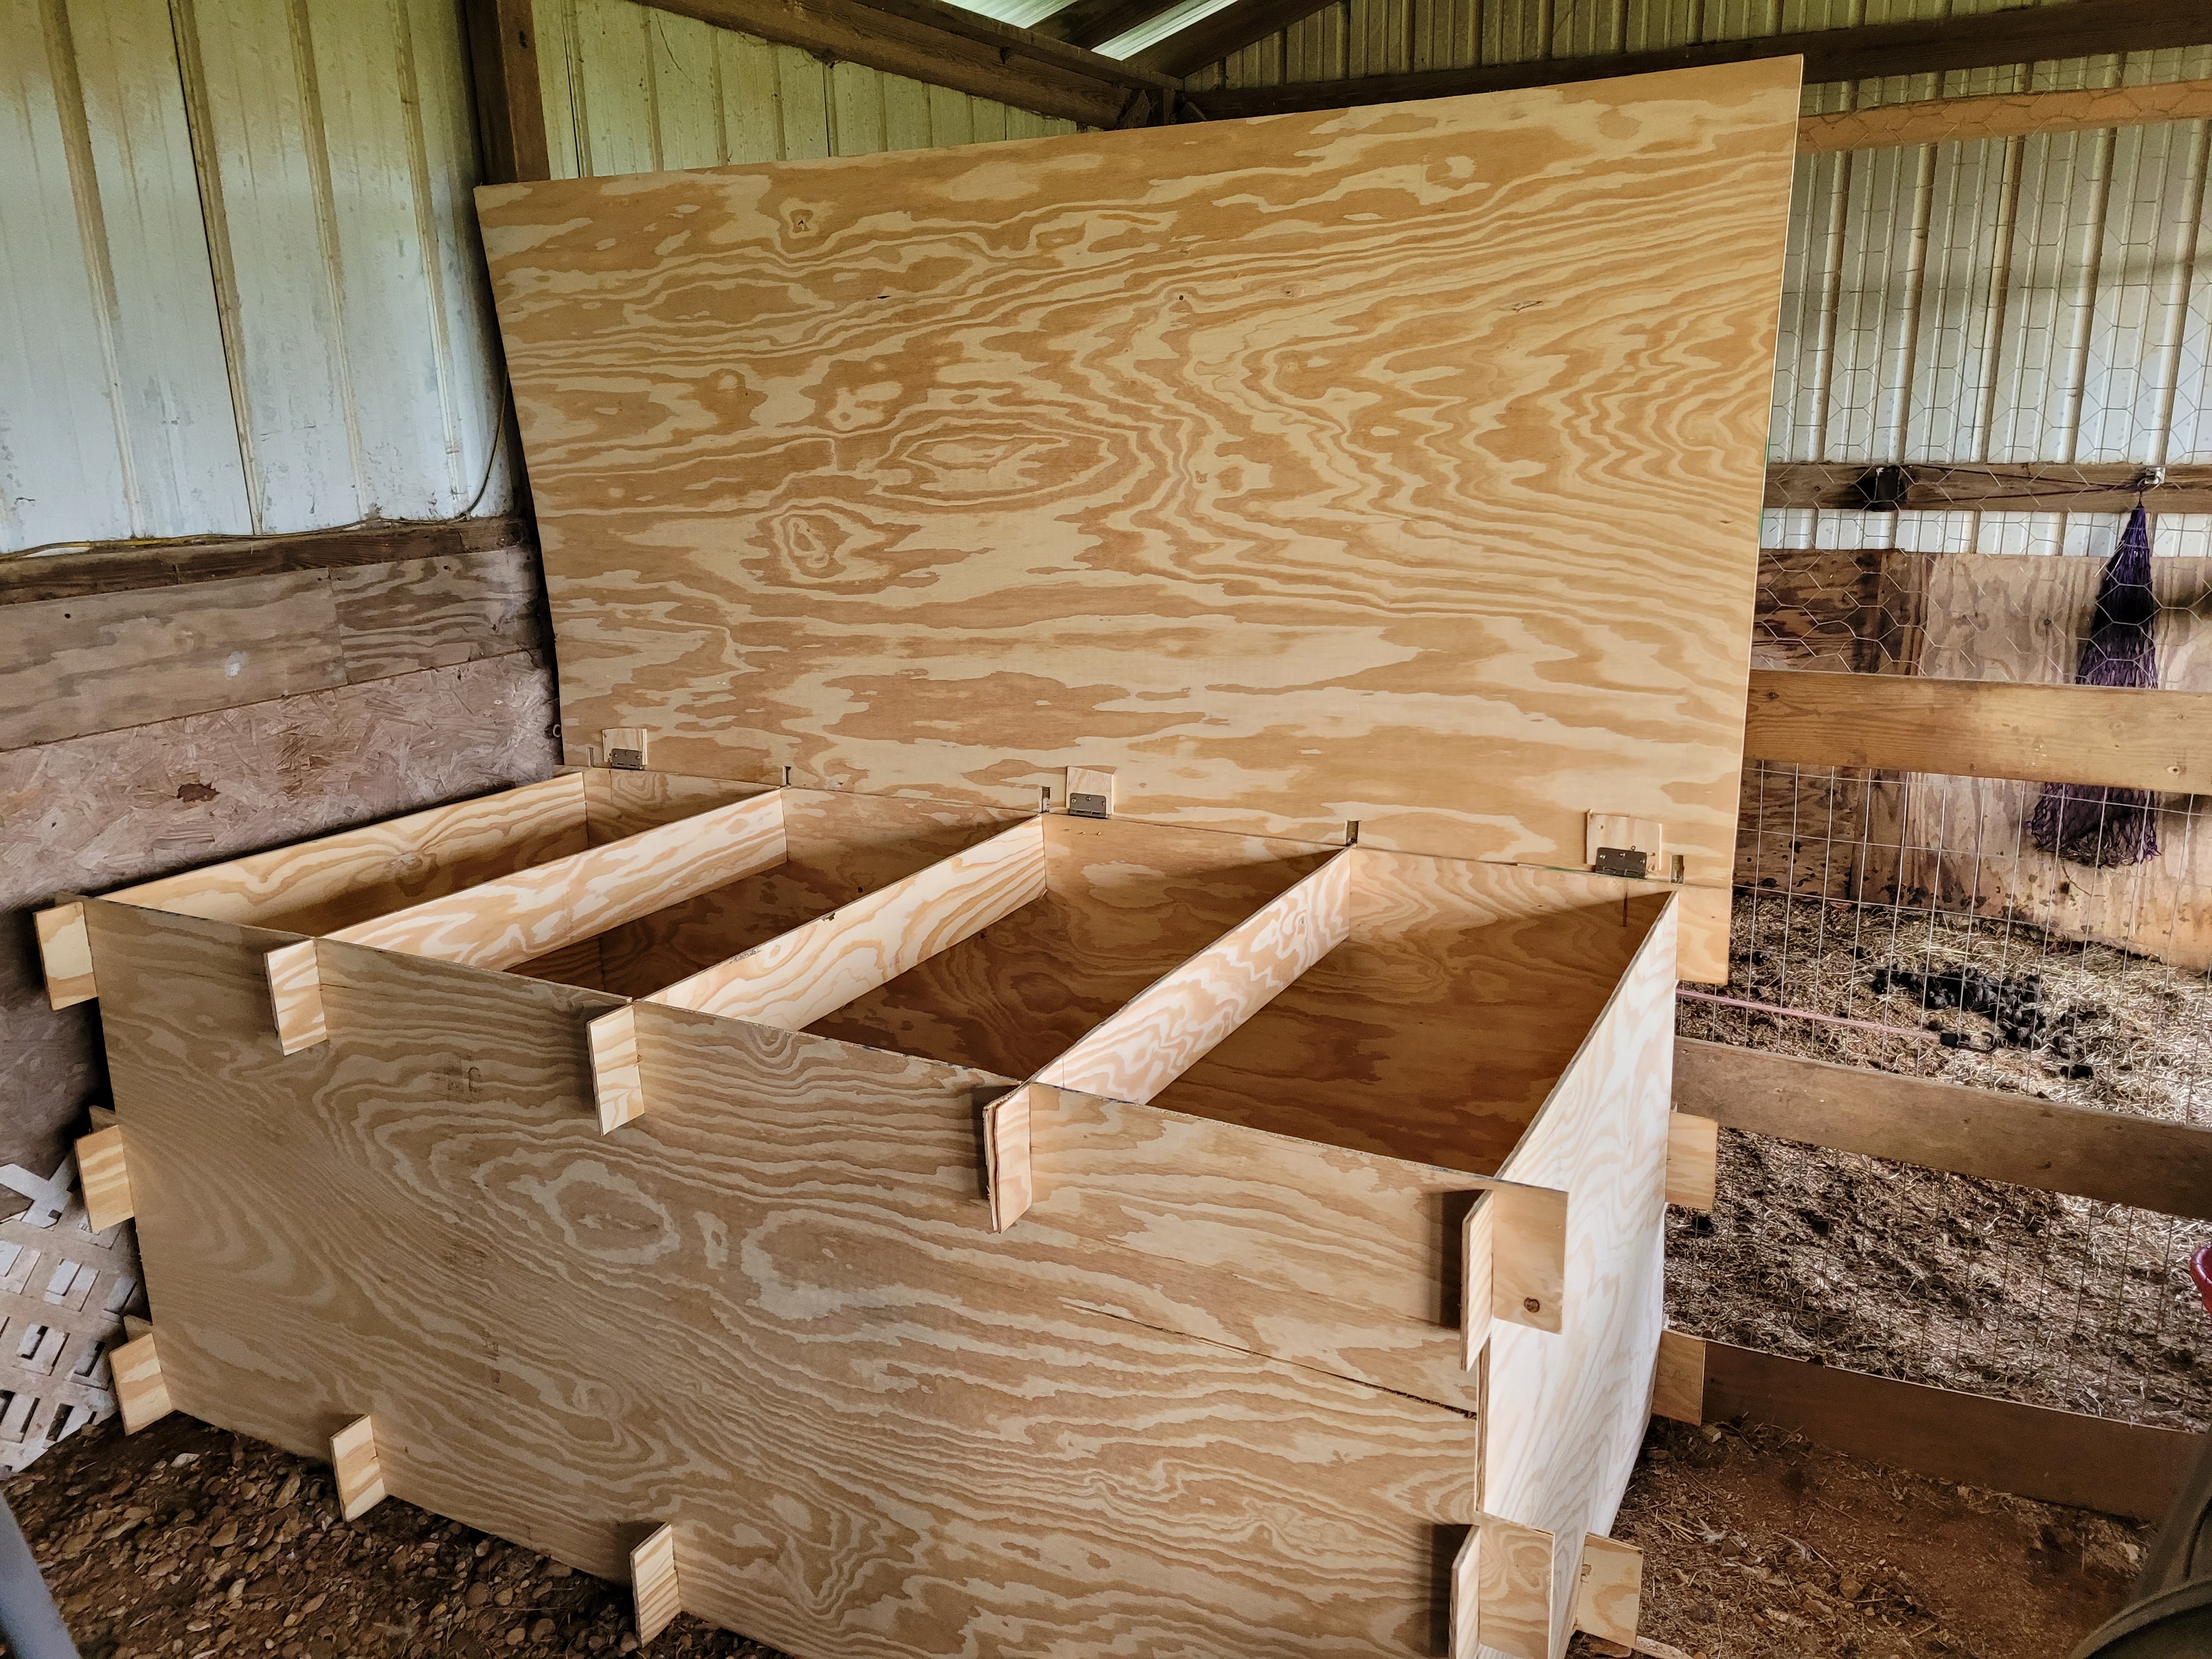
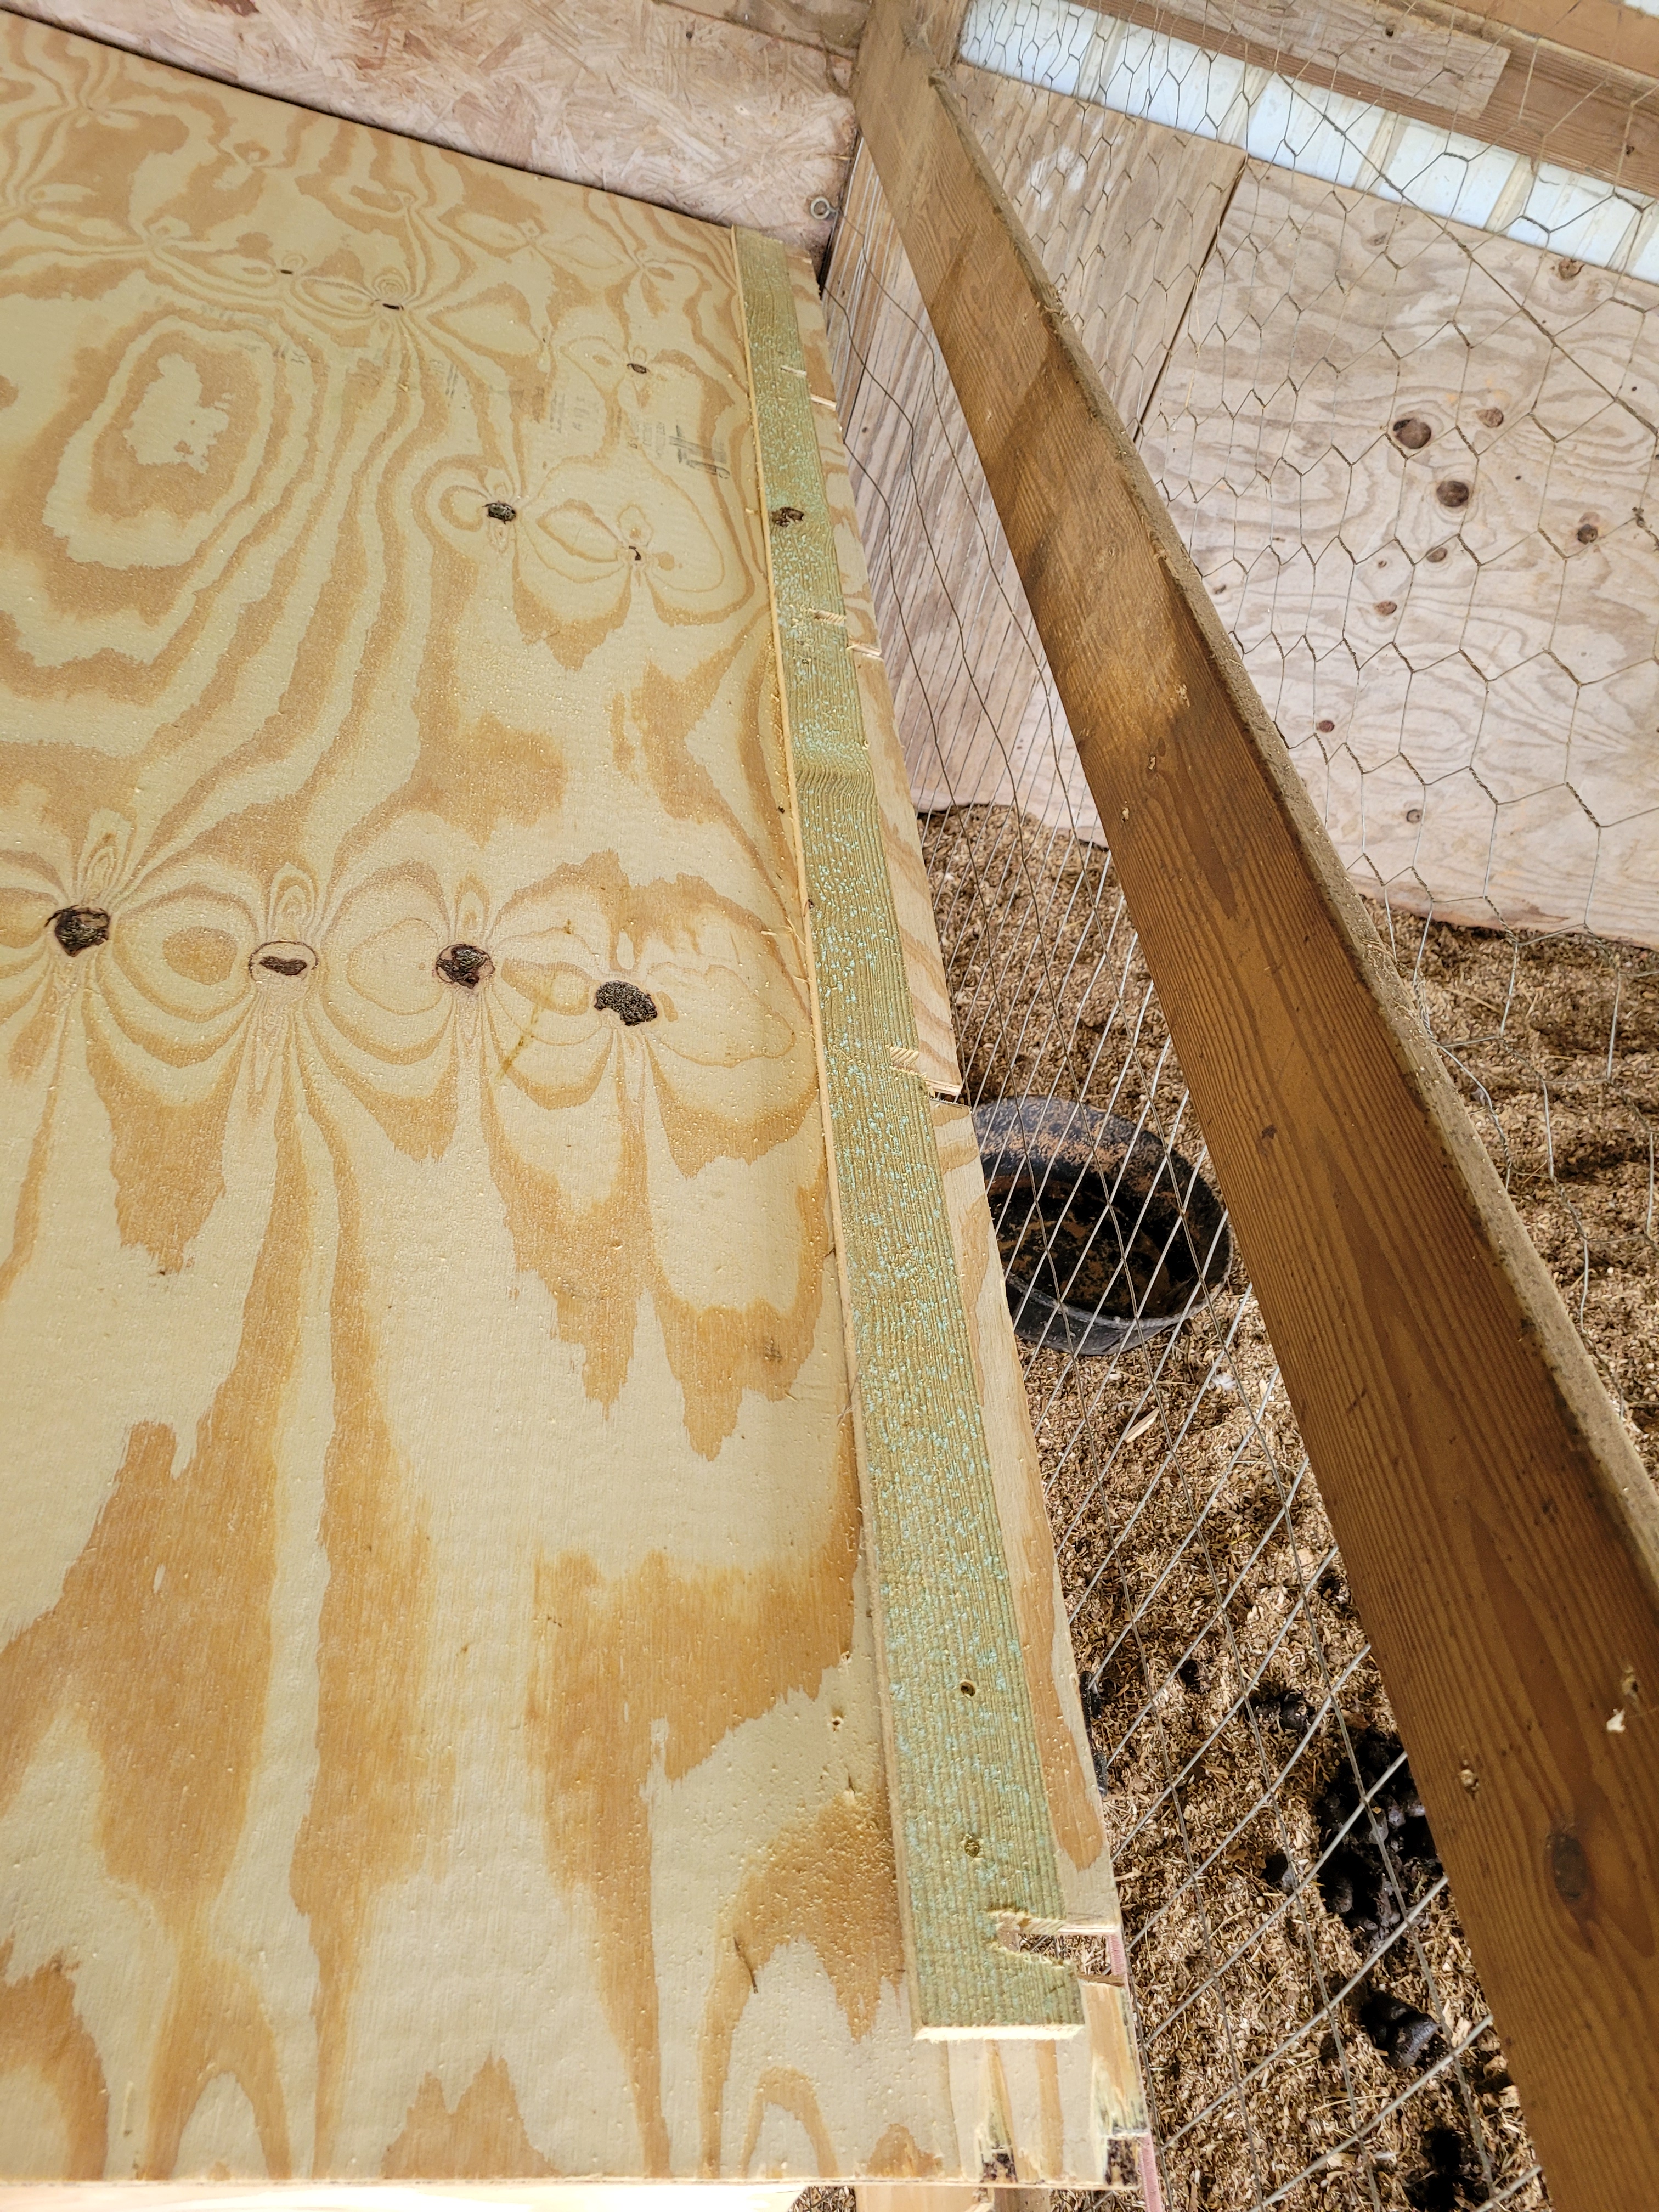
I started with a standard four by eight sheet of quarter inch plywood. This I cut in half leaving me two four feet by four feet square pieces. I then measured in three inches from each side and marked a line all the way down as a reference mark. The hook catch system I had come up with need three points of interlock on each corner to ensure no gaps big enough for rodents to get in or chicks to get out existed. These consisted of a six inch long block the full width of the panel with a three-inch slot along the marked reference line, leaving three inches connecting the block with the rest of the panel.
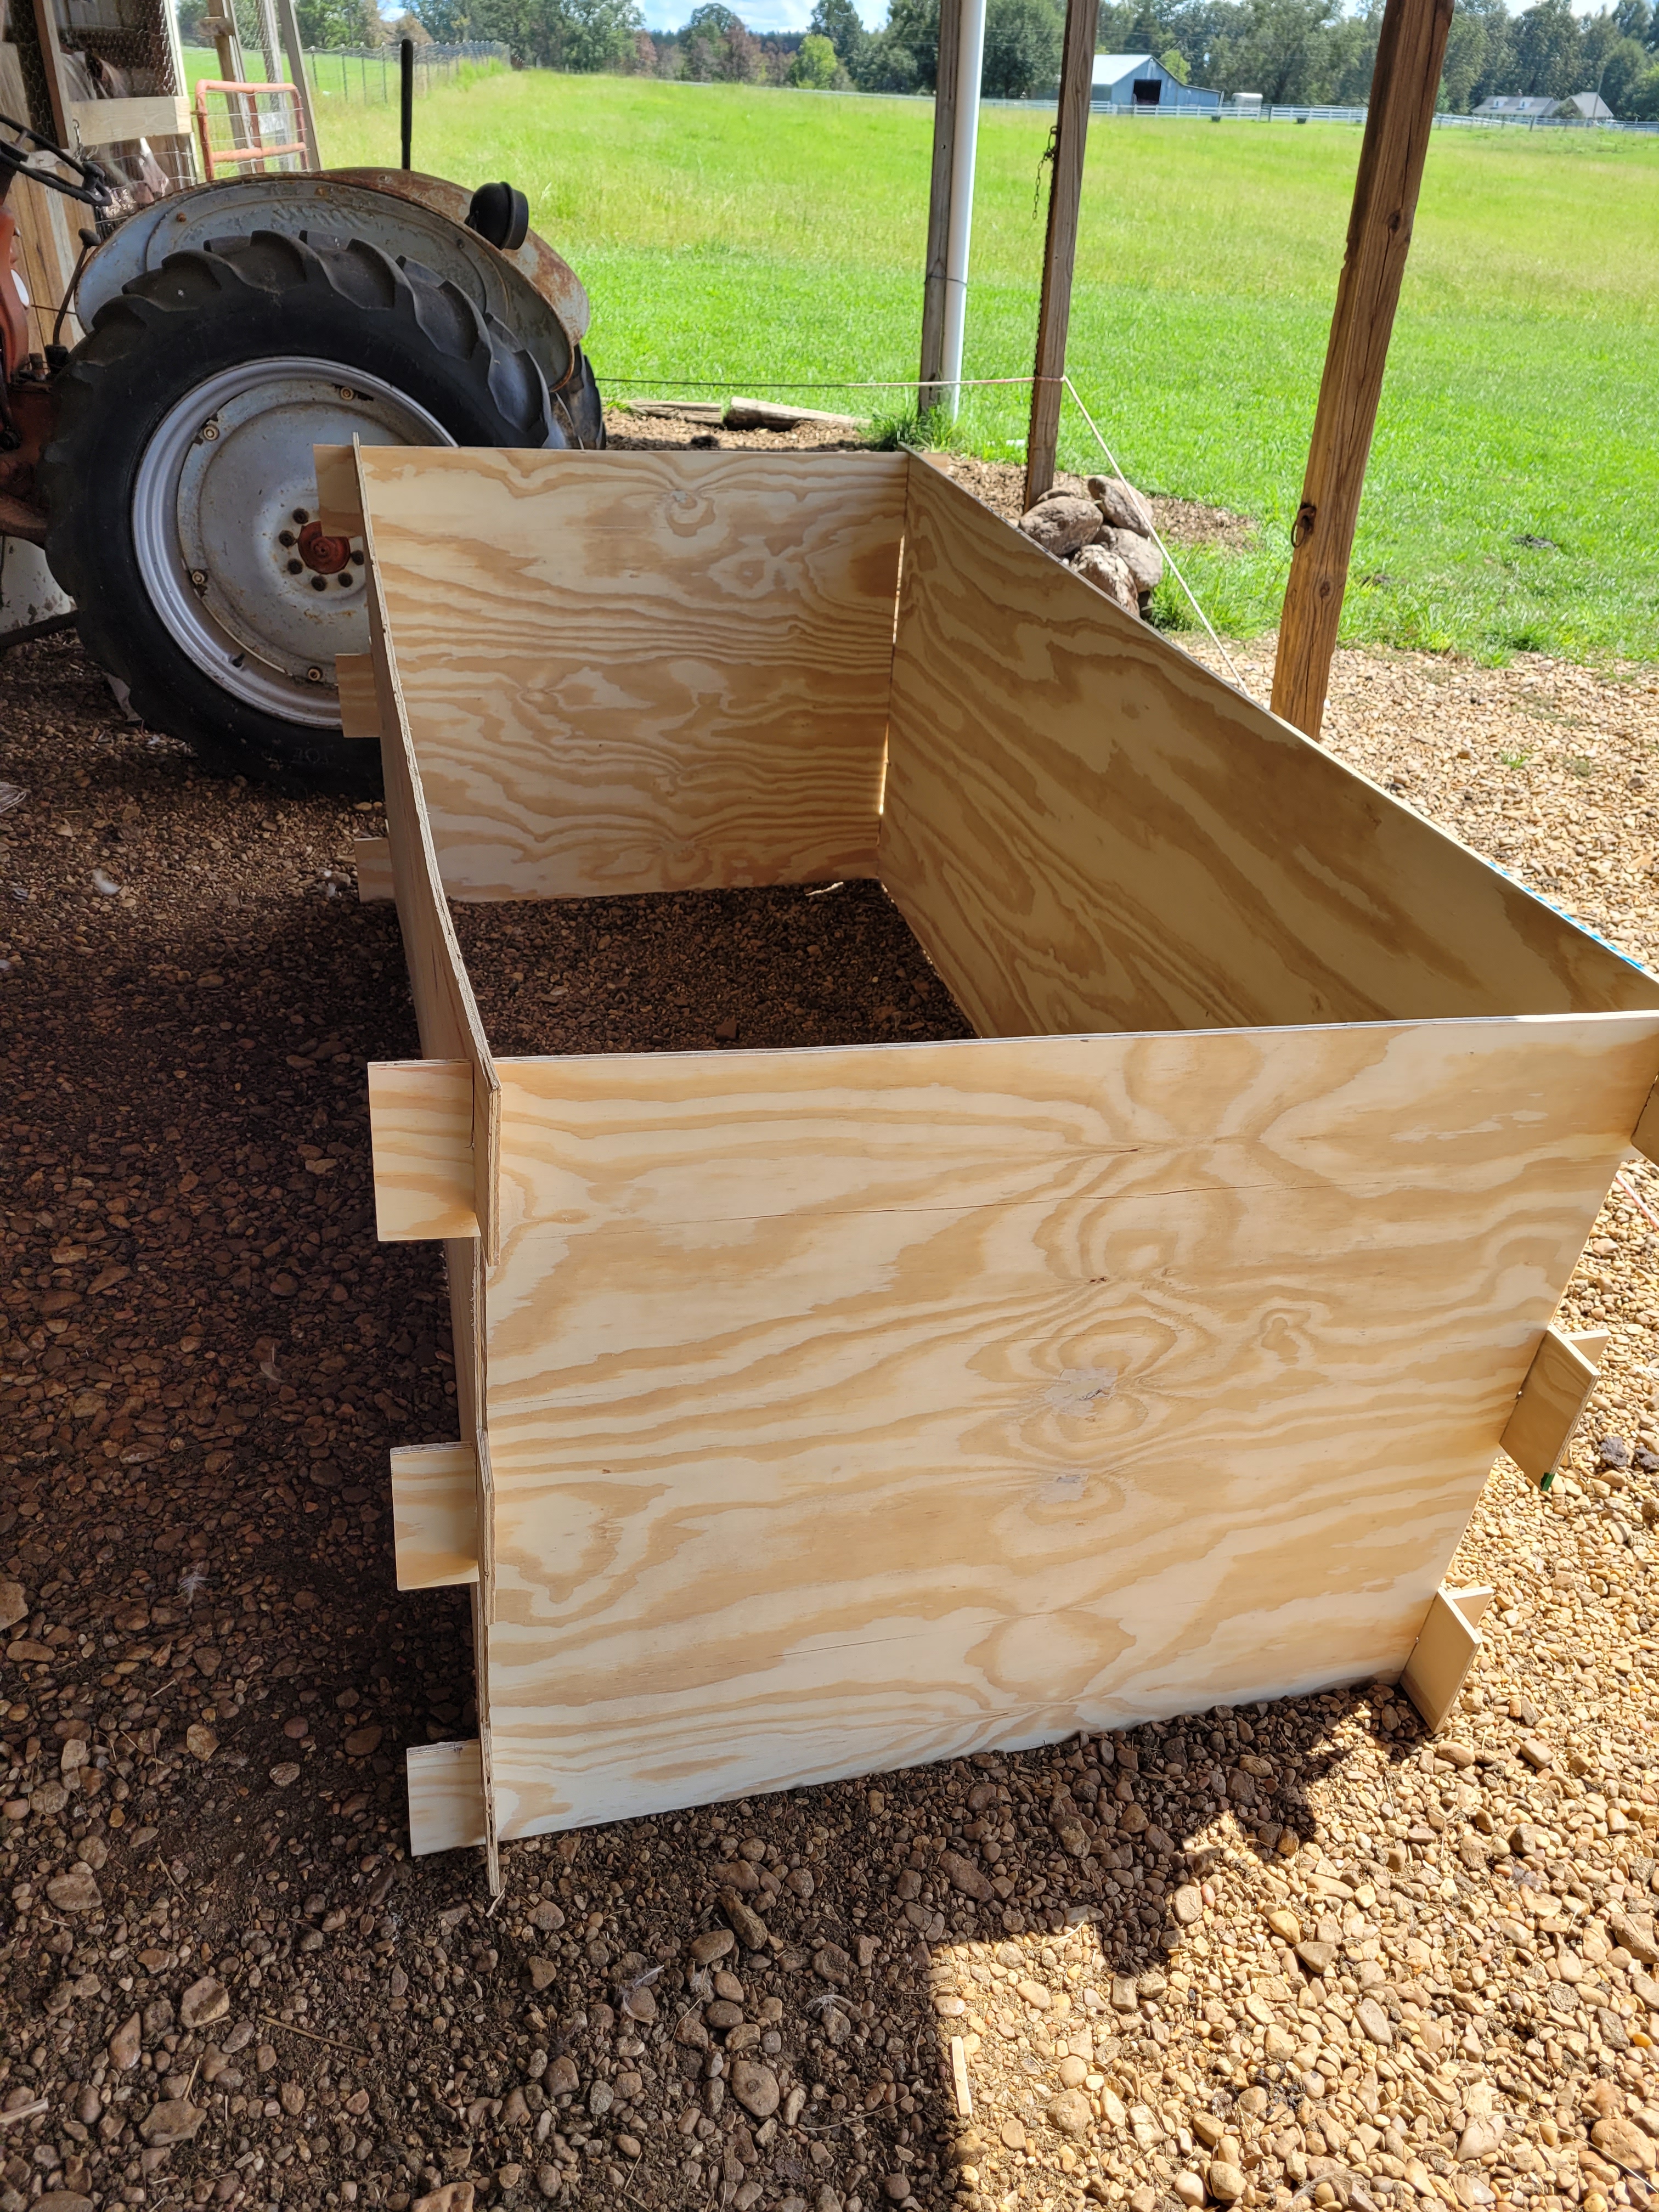
Once both end walls were notched and ready, I moved on to the long pieces and repeated the same notching process on the full eight feet long pieces. These notches were turned upside down from the end panels though. This allows the side panels to be set in place and the end panels to be put in area between blocks and slid down into the slots creating a strong interlocking joint. Due to the interlocking design, the interior space came out to be three and a half feet by seven and a half feet.


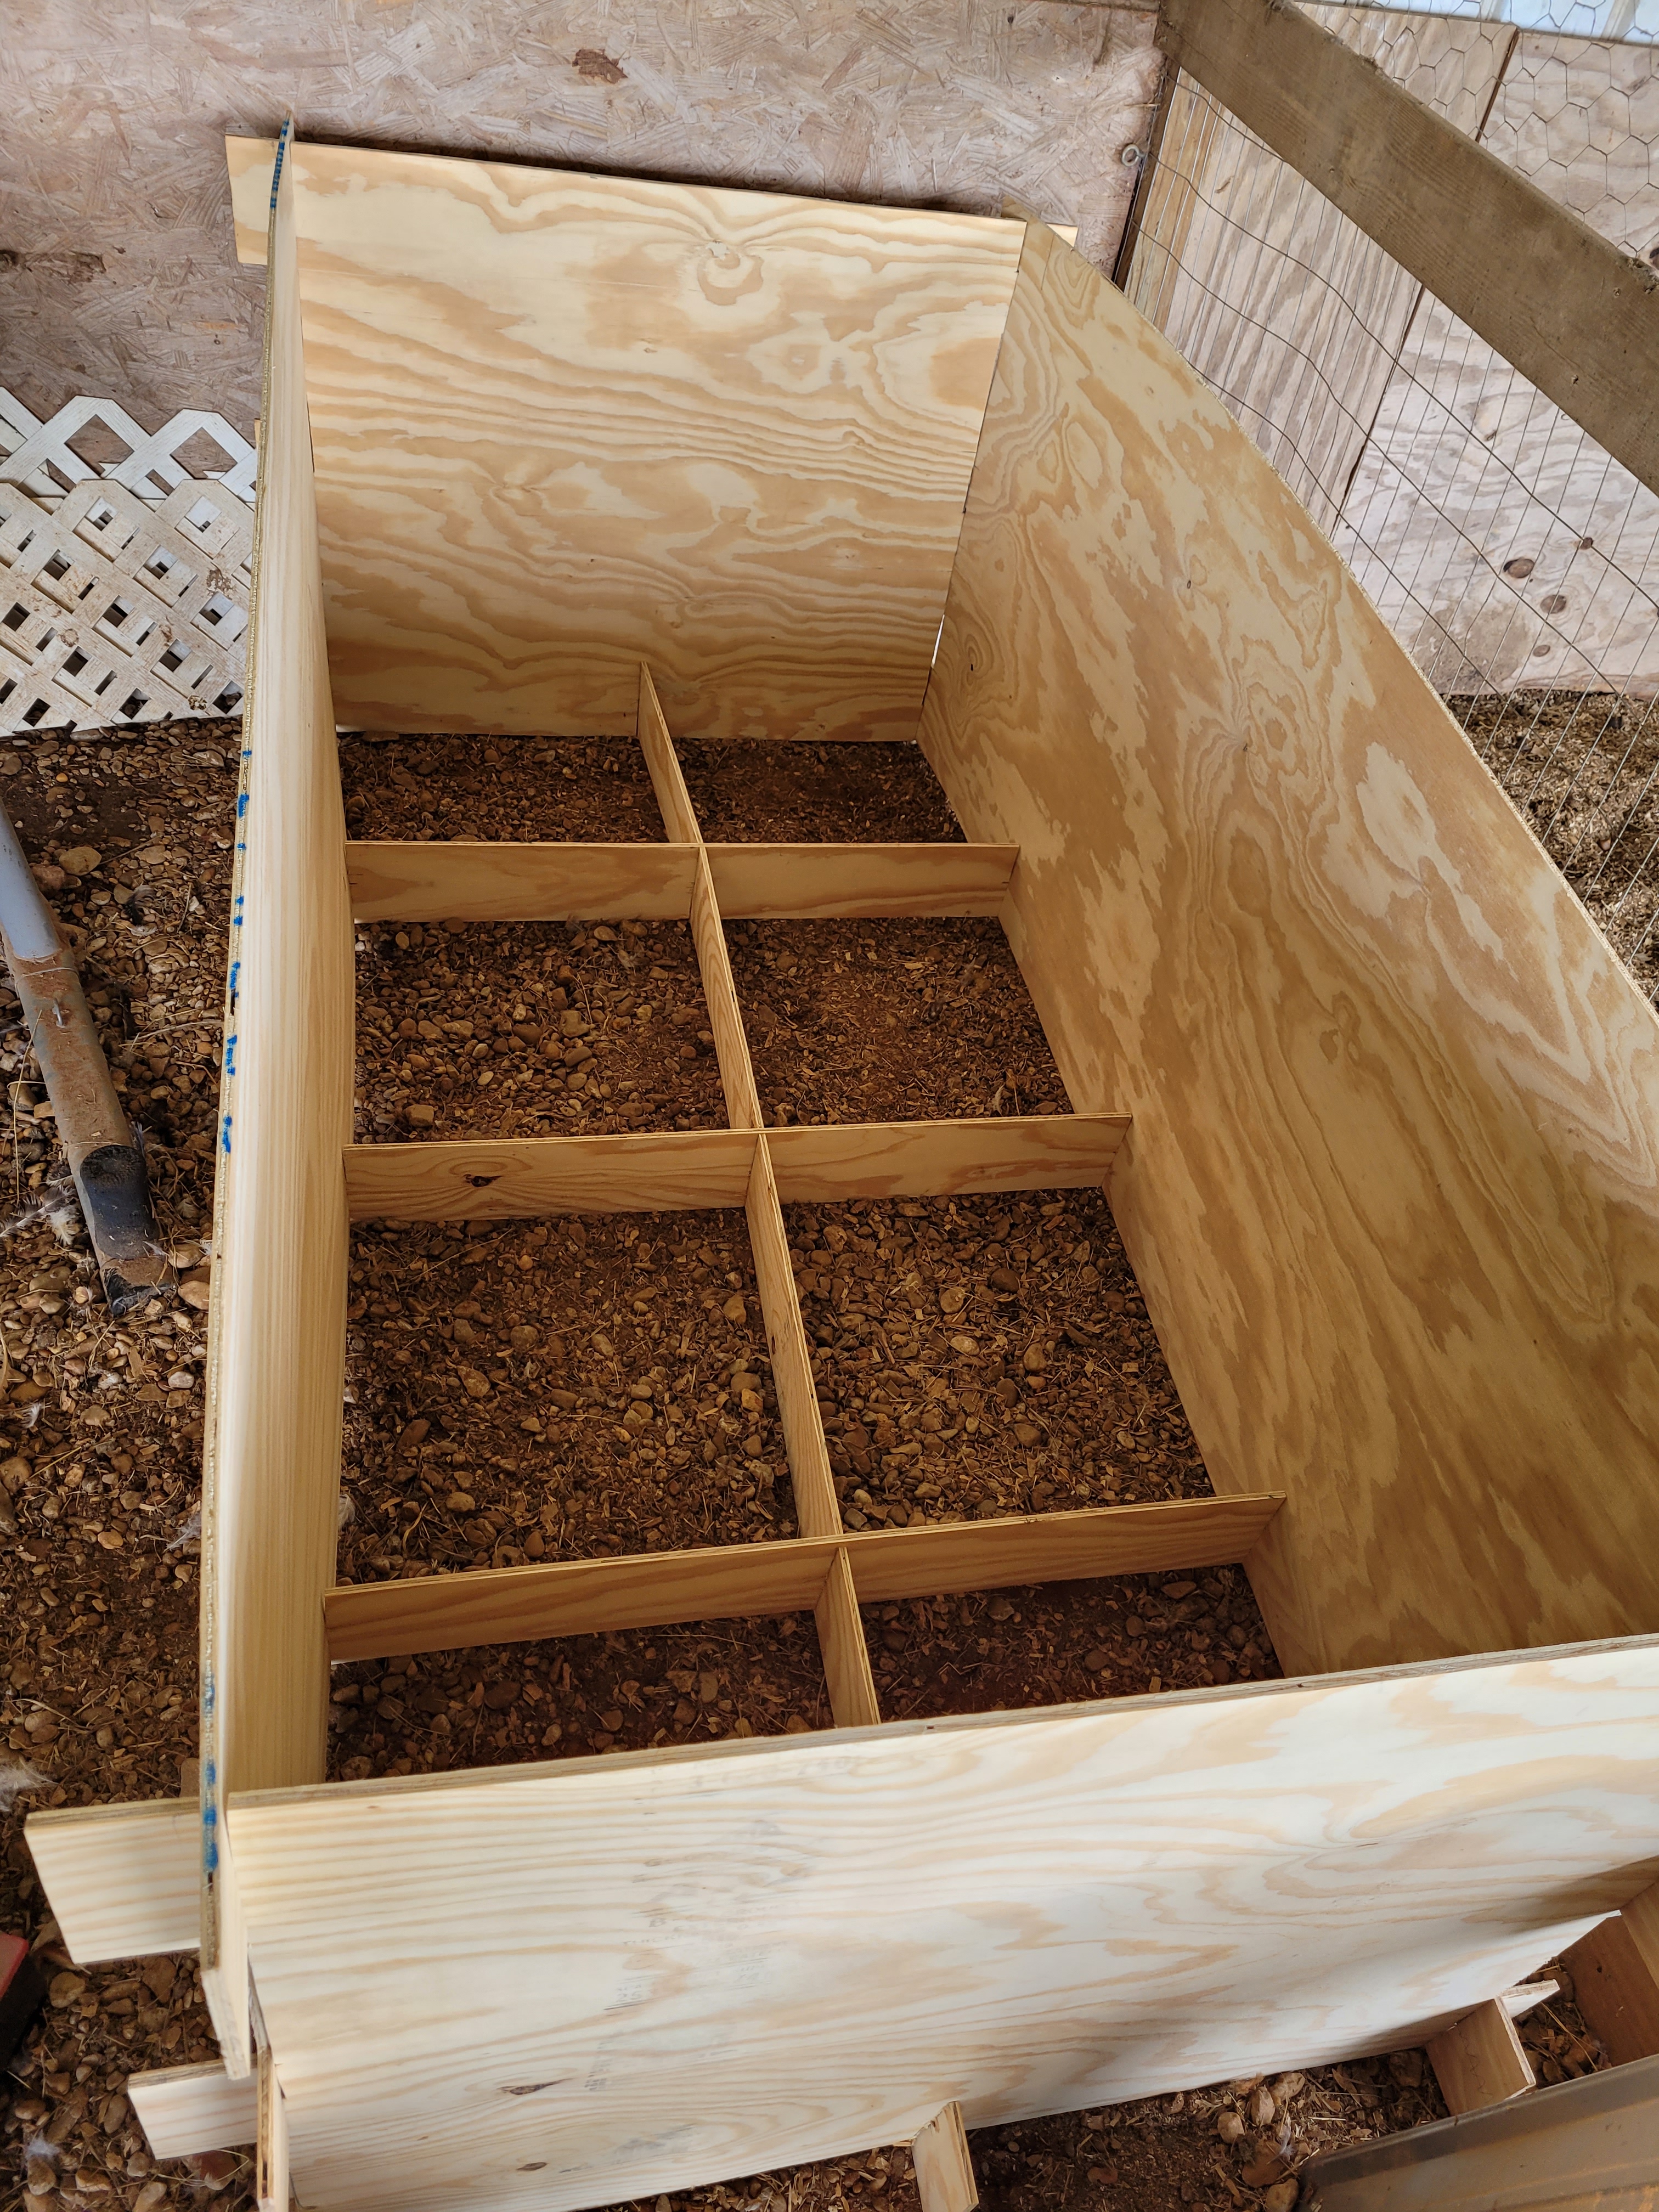
With the main outside structure complete I moved to adding a floor. I quickly realized that four feet down is a long way to reach even for my over six-foot frame. I cut three pieces of plywood that were four feet long and six inches wide. These I notched three inches from each end and once again in the middle. These are to support the floor of the brooder. A single eight food piece was next to tie all the cross pieces together and lend support down the middle length. With all these pieces and the corresponding spots on the side and end panels notched, it was a bit of a juggling act to make sure everything lined up and slipped into place like it was supposed to.

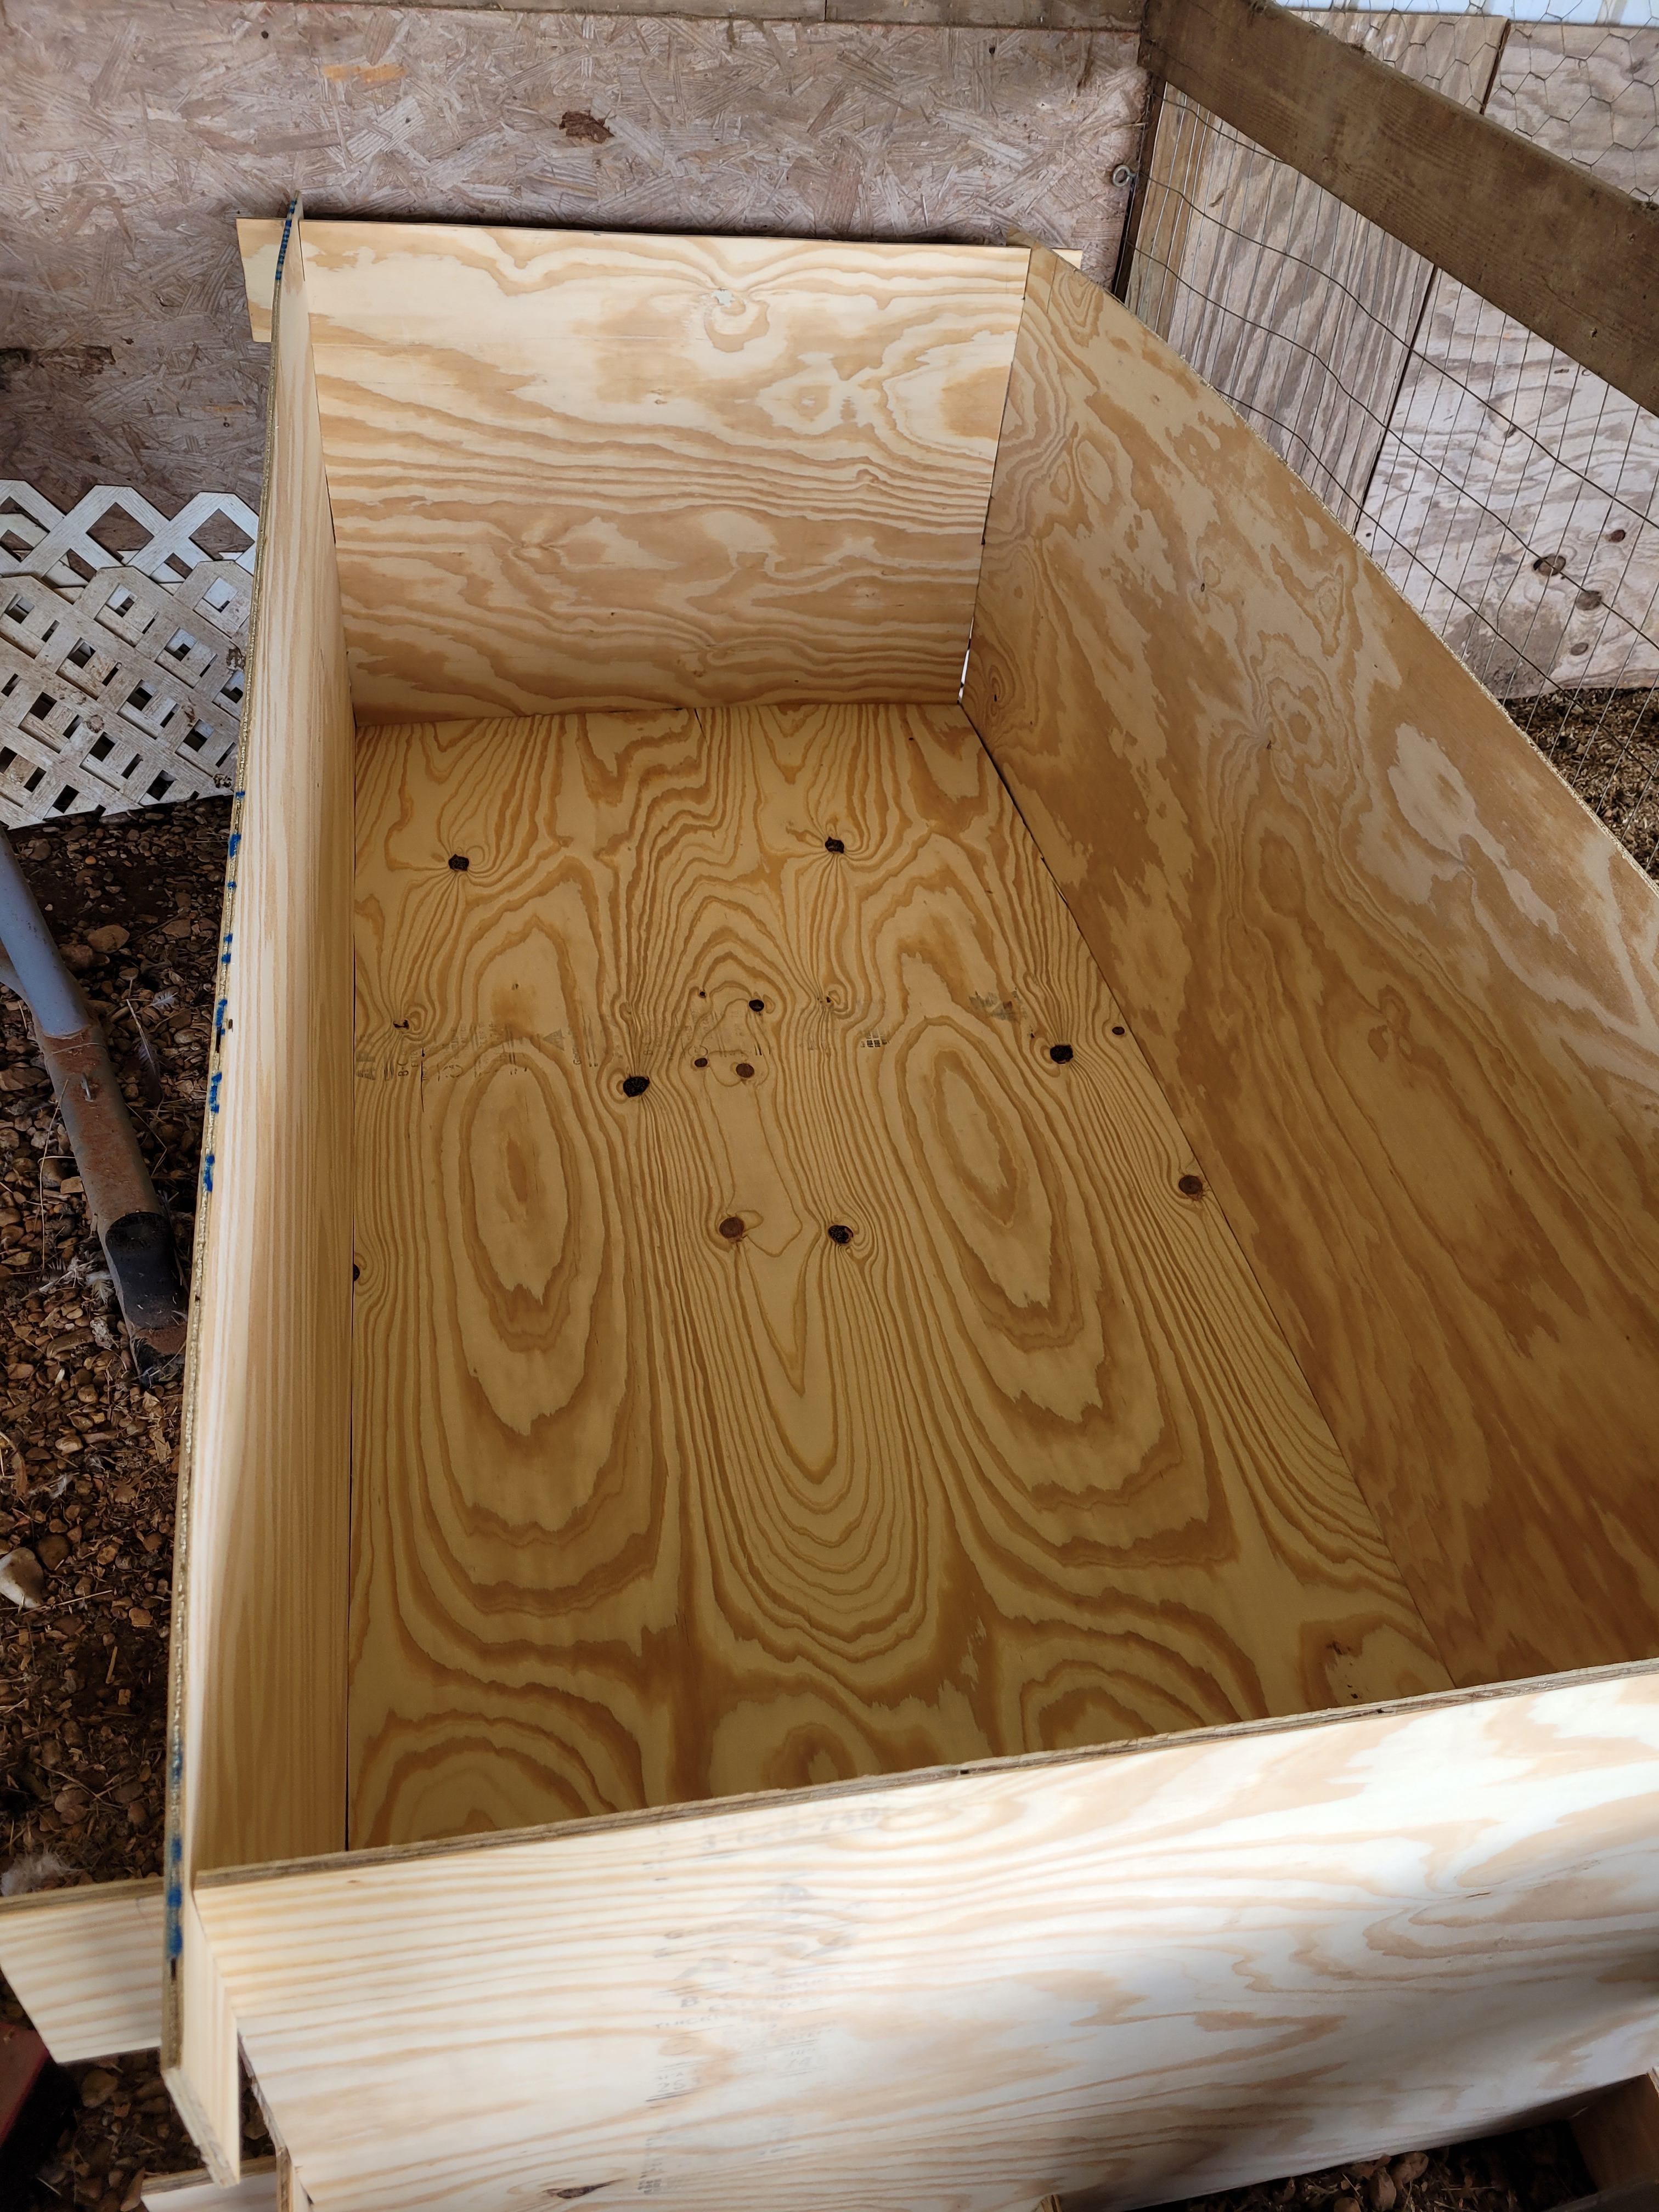
Once the floor supports were in, I cut a piece to the dimension of the inside of the brooder and set it in place. With the floor supports and the floor in place the brooder became very sturdy and rigid except at the top. To make this better and give the lid some support I added cross braces in the same manner I did on the under side to support the floor.

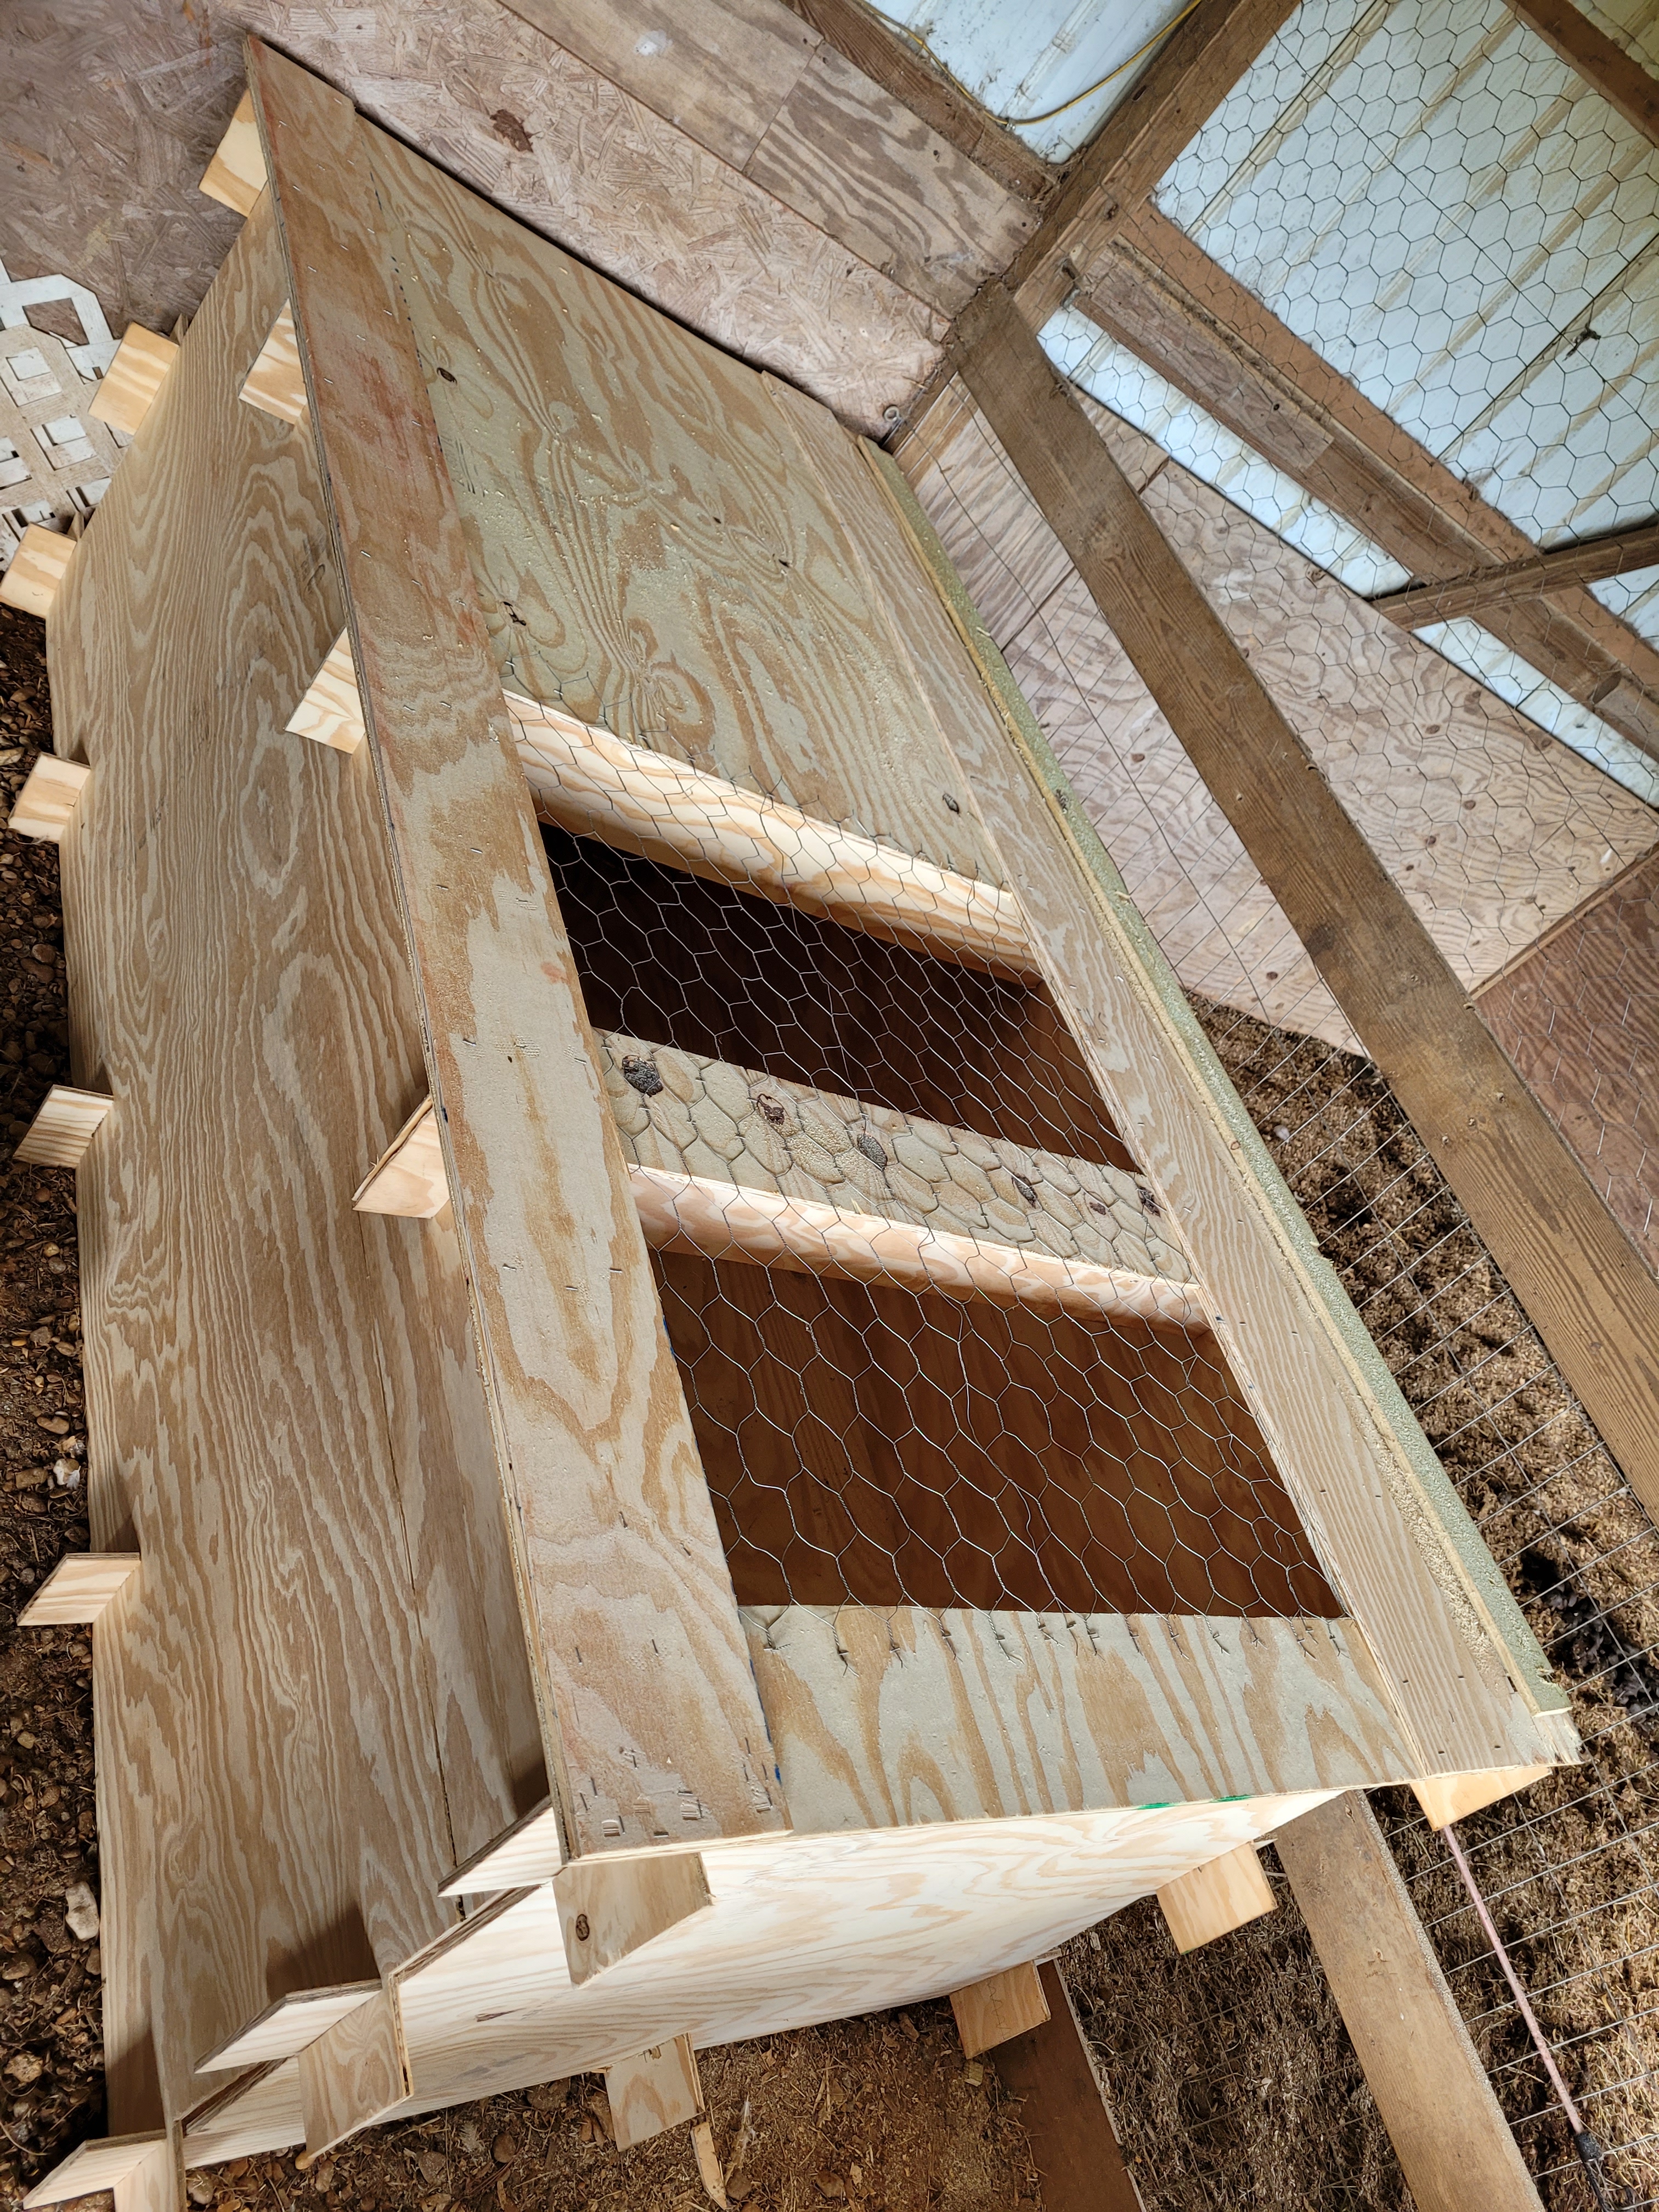
For the lid I took a full sheet of plywood and made a window for ventilation and viewing as well as to lighten the weight of the board. Next, I notched the back side to allow it to hinge and not interfere with the over hang of the interlocking system I had created. I covered the window with chicken wire and added some bracing. At this point we were ready for chicks, which was good because I had ordered 30 meat chicken chicks and they were due to be delivered two days after I finished this. Nothing like a deadline to encourage work to get done.


Now, with it completed and used once will share my impressions and ideas to make it better. These bullets are in no particular order
- Thicker plywood, half inch at least. The quarter was too flimsy all around
- Shorter height. While the depth is only three and a half feet the side walls are still four feet tall. It needs shorter side walls. My next variation will probably be six inches shorter.
- Closeable side vents. The only ventilation was from the top. Adding some vent windows that can be removed and replaced to control ventilation for various seasons and unexpected extended stays without ability to change the bedding would be helpful
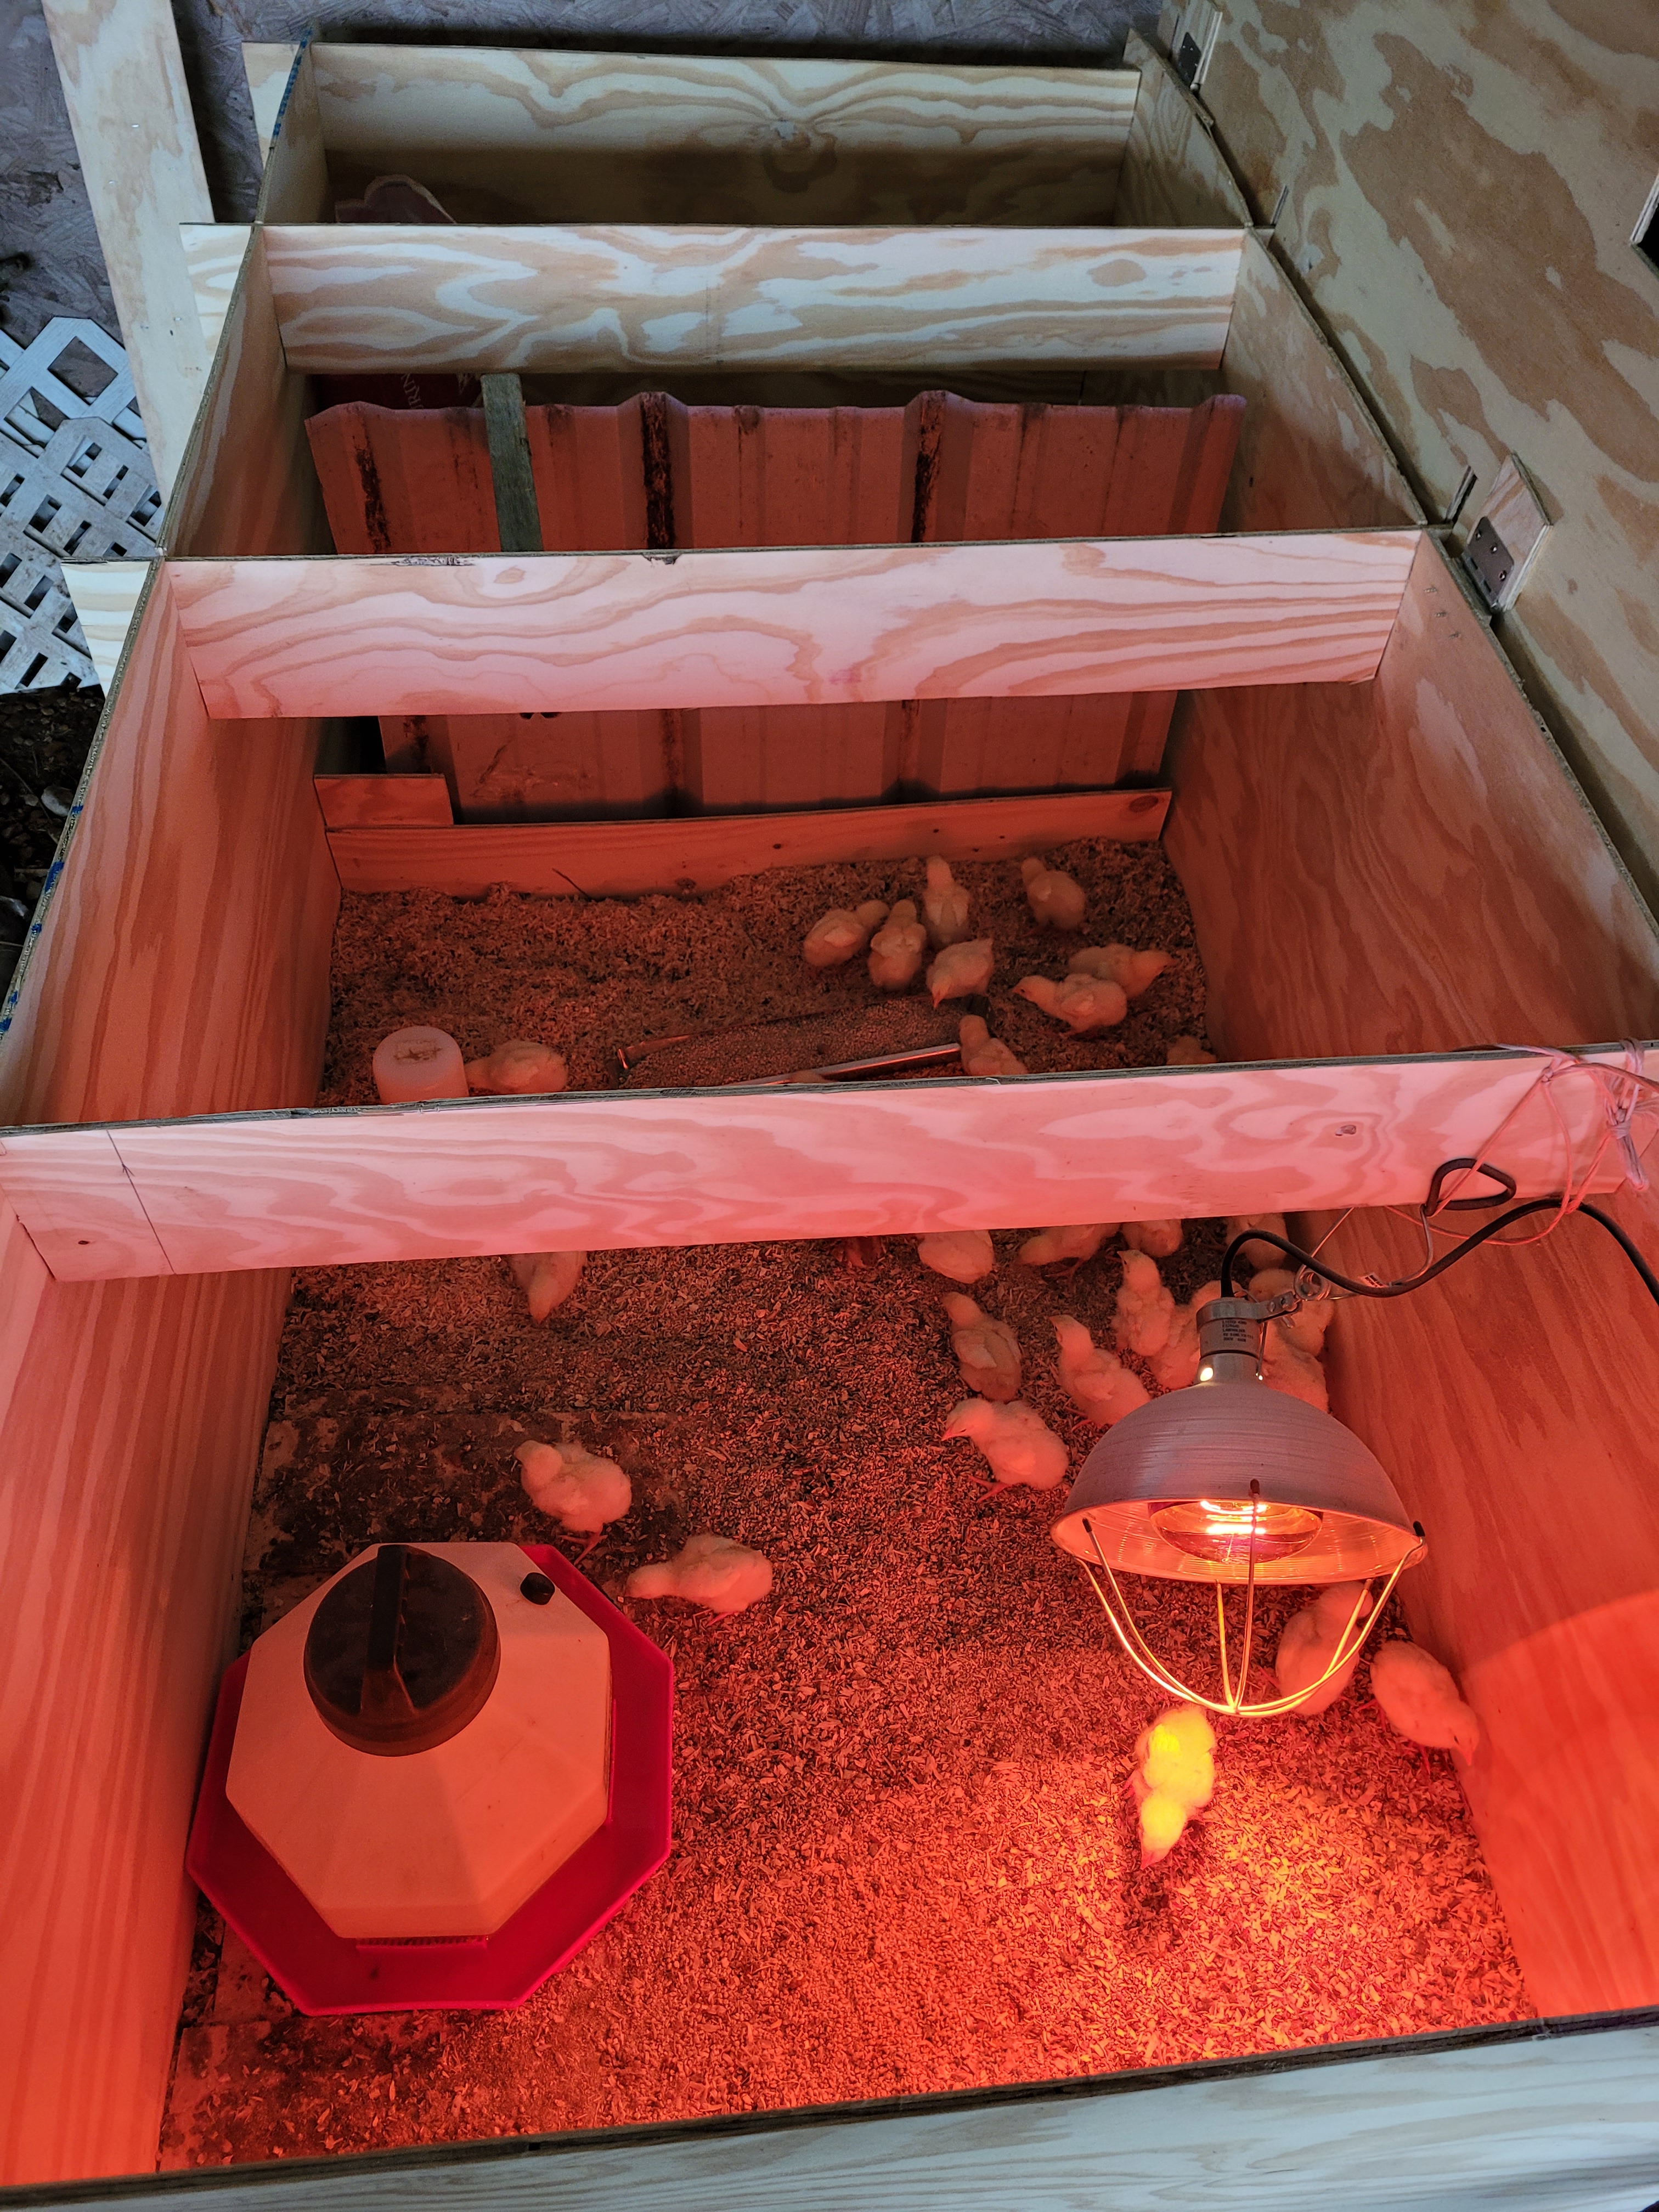
- A purpose made divider. I used scrap wood and created a divider to start the area small and expand it as the chicks grew which was great, but the wood I used was scrap and didn’t fit and more than once had a chick escape and get on the other side away from food, water and the heat lamp.
- Holes for hanging things on the cross braces at the top. Using a hanging trough style feeder was what we used and it worked well except for the way it was hung. We had no holes to use hooks and chain to hang it. That would have made it much easier.
Here are the things I liked about it and what I think I got right.
- Overall design. Overall, the design was spot on what I wanted. It will assemble and disassemble easily as well as store with minimal space use.
- The expandability. This feature allows for food, bedding, and grit to be kept in the unoccupied area which is right at hand and kept rodent free.
- Scalability. This design can be scaled up or down as you desire. Need something half this size for quail, easily scaled down, need something larger for turkeys, make it eight by eight and it will hold plenty of turkeys or a large batch of small production farm meat birds.
- Versatility. If you need a quarantine for a sick bird or a breeding stall for specialty breeding you are attempting this will work fine. It also has the bonus of easy clean up and prevents contamination if you do use it as a chicken hospital. Just disassemble, spray with bleach and put up then sweep up the used bedding, bag, and dispose.
Share with us what you liked about this project and what you thought could have been done different or better. Also, what other projects could you use this kind of design elements on? We look forward to hearing from you and as always have a Sunflowery day!
